For a long time, I have been paying all my utility bills through the mobile app of a Ukrainian bank and then saving the receipts locally. This bank is a so-called neobank, which means (among other things) that it has no website, so there is no way to download the receipts directly. Because of that, I have to upload them to Google Drive and only then download them to my machine. So my usual workflow looks like this: I make all my payments (about a dozen) in the banking app, upload the receipts to the cloud, and then download them. The problem is that each file gets a random name, so I have to rename every file manually according to the bill type. This manual renaming is pretty tedious, so I decided to build a small tool that would parse the PDFs and rename them accordingly.
But I didn`t want to write just another script. I wanted to build something nice. On the one hand, I am not a UI/UX designer, but on the other hand, the application wasn`t going to be that complicated, so I decided to try a brand-new AI design tool. As you have probably already guessed, I chose Claude Design.
I decided to try the simplest possible way to interact with an AI tool: just zero-shot it (I covered this approach in my article on prompting techniques). It is really simple, but it comes with a well-known trade-off: you have to think through and describe your application`s entire functionality in a single prompt. It took me about half an hour, and here is what I came up with:
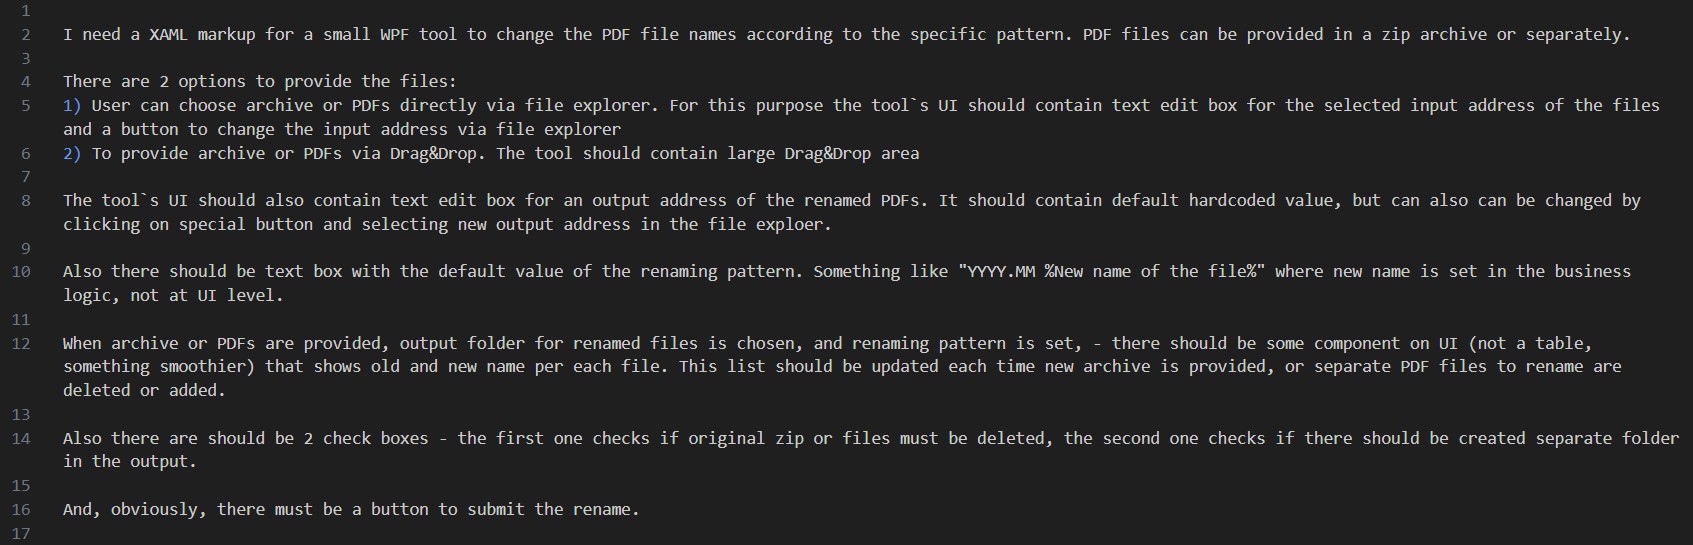
Zero-shot prompt describing the application`s functionality
Once inside, Claude Design greets you with a menu, where you can choose a template for your application:
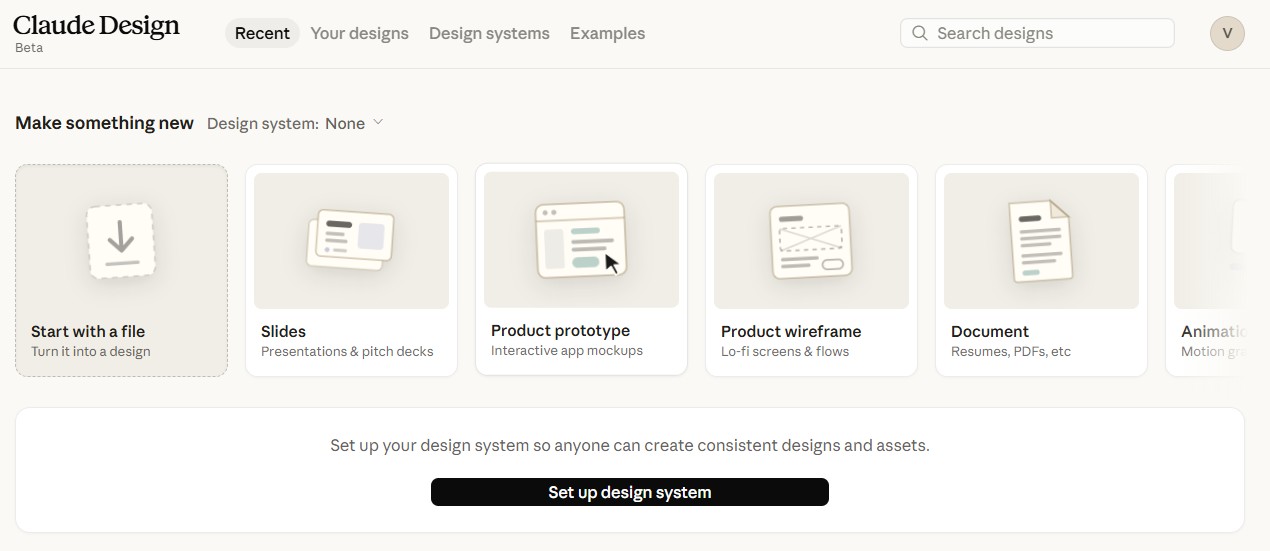
Claude Design templates
None of the templates suited my needs, so I started from scratch and pasted my prompt to the dialog component (along with a few tags):
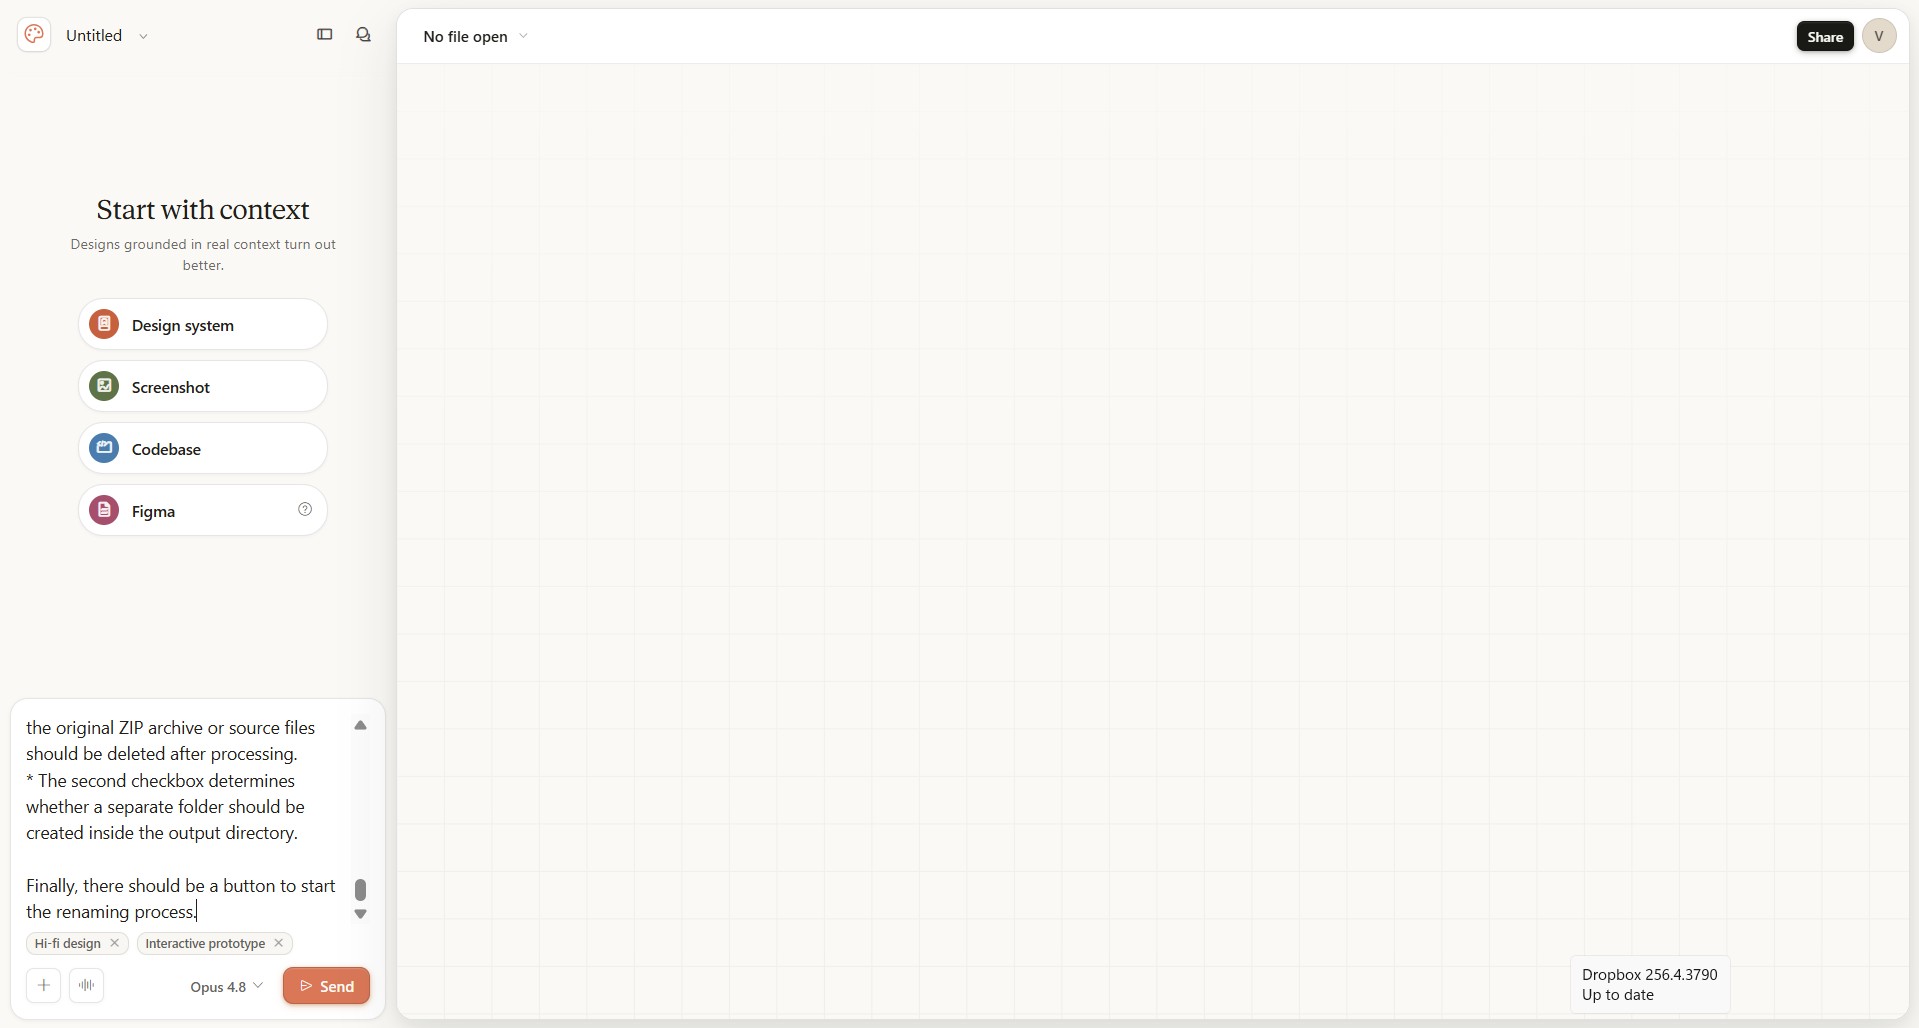
Prompting Claude Design
Unexpectedly, once it was done, there was no visualization of any kind, so I had to ask for it explicitly:
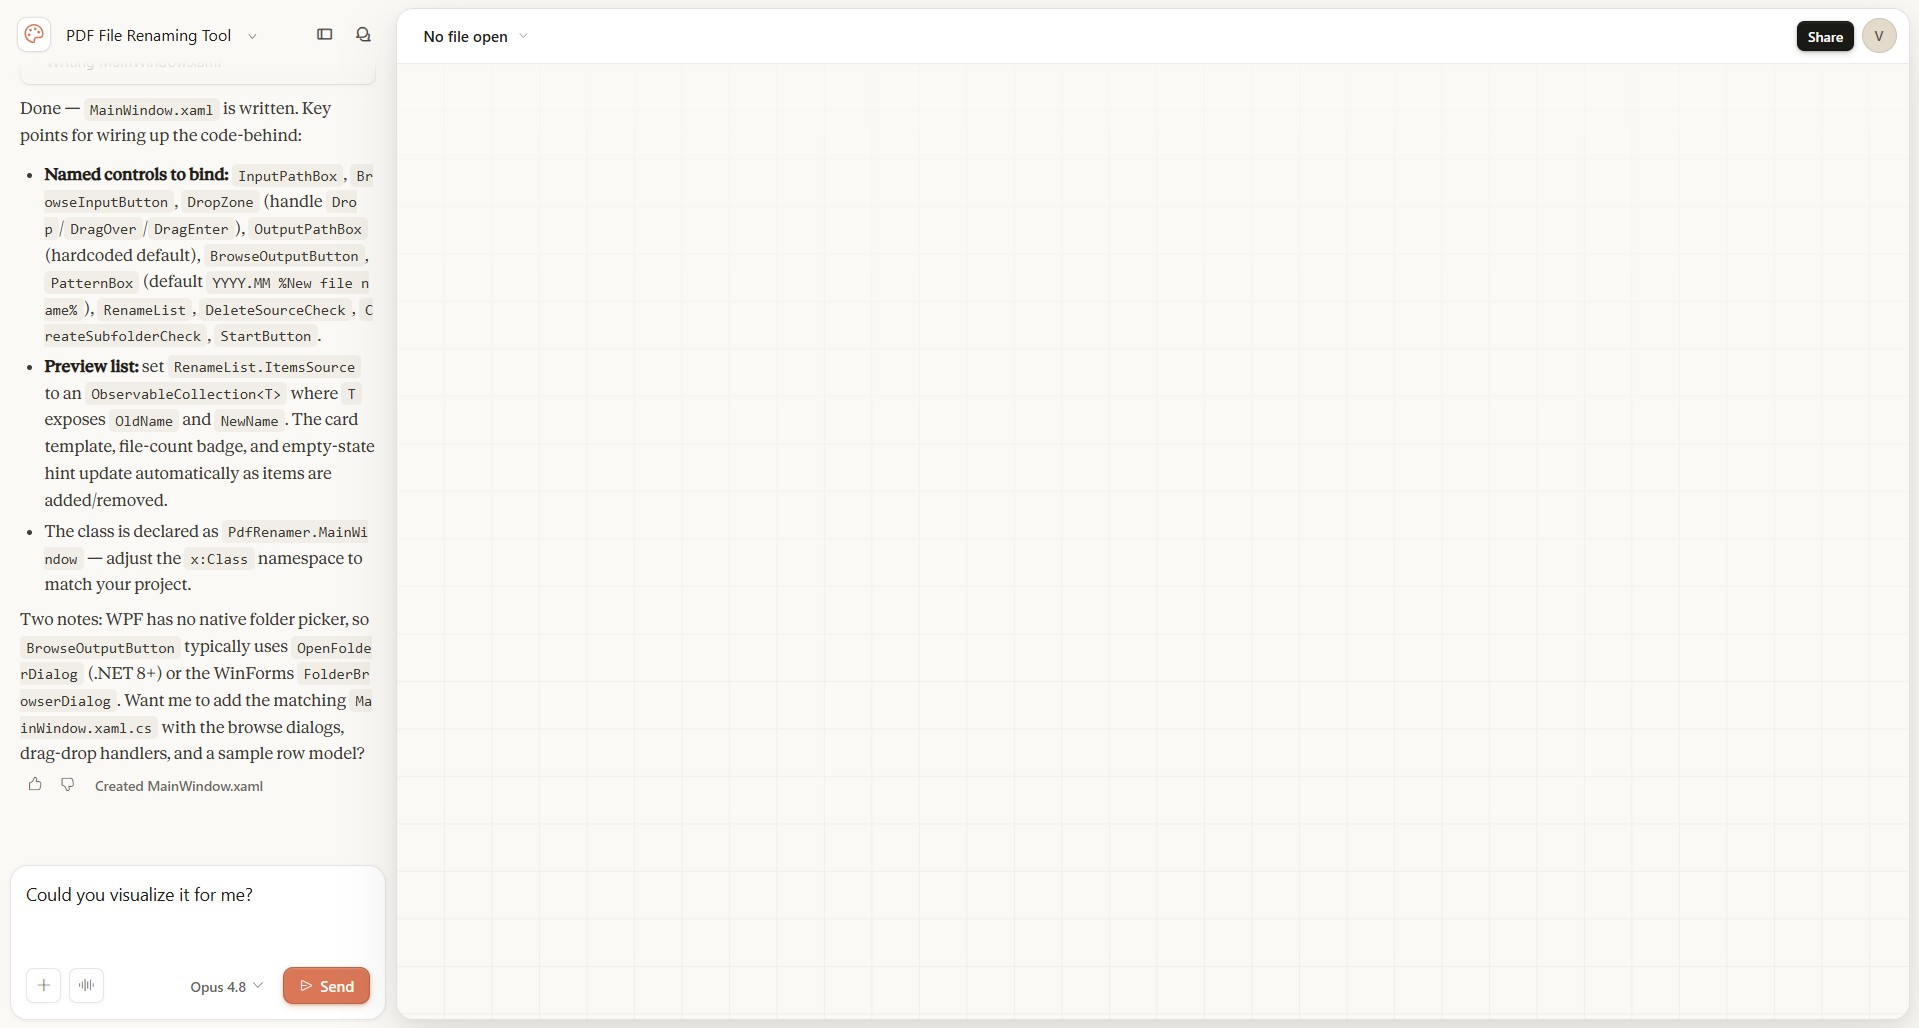
Asking Claude Design to visualize the prototype
After that, Claude Design showed me the following prototype:
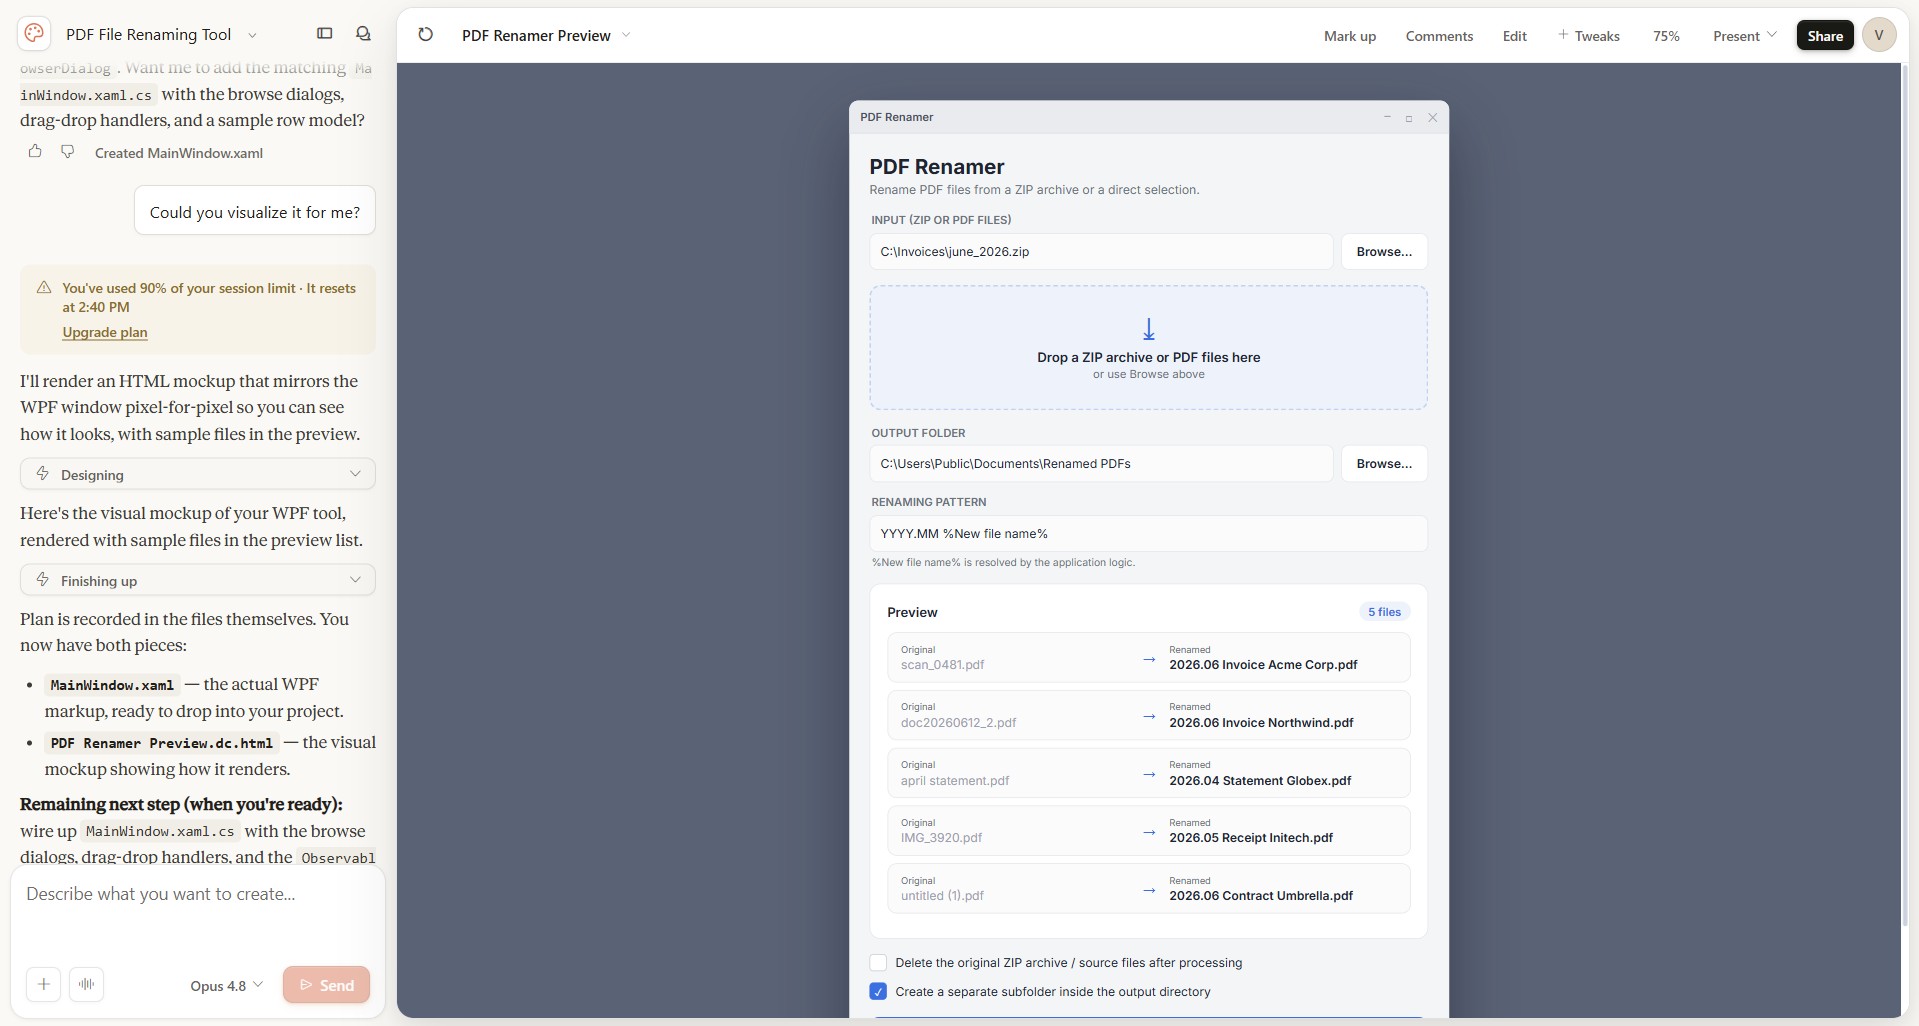
Claude Design prototype
I thought it turned out pretty well. It had a title with the app`s name, a text box for the input file with an extension filter, a drag-and-drop area, a text box for the output folder, a renaming pattern field, a list of the resulting names, and checkboxes with additional options. Some of the labels could have been more descriptive, but that`s an easy fix. The only thing missing was a file menu - thought, to be fair, I hadn`t mentioned it in my prompt either. So I asked the tool to add it:
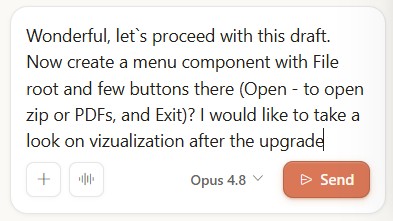
Prompt to add the menu component
Claude Design added the file menu without touching the rest of the prototype::
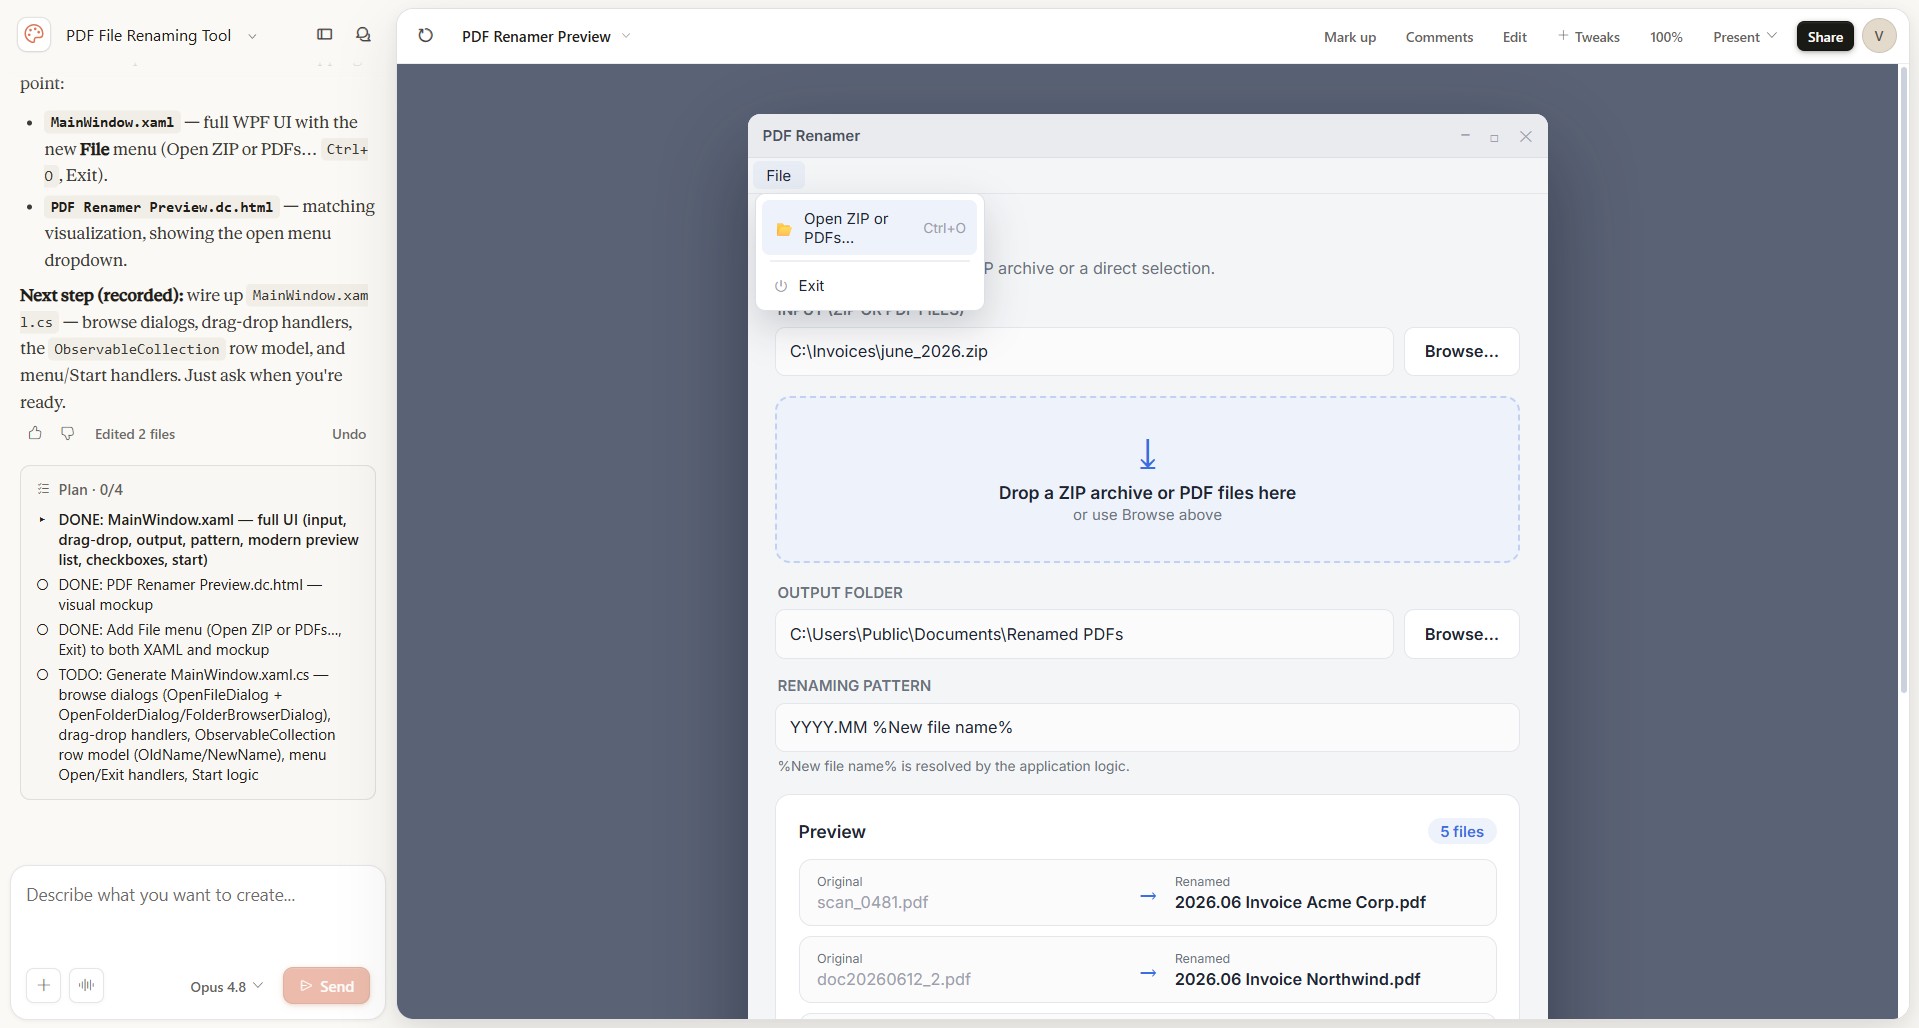
Claude Design prototype with the file menu added
One thing that did surprise me was that I couldn`t download the generated XAML in preview mode:
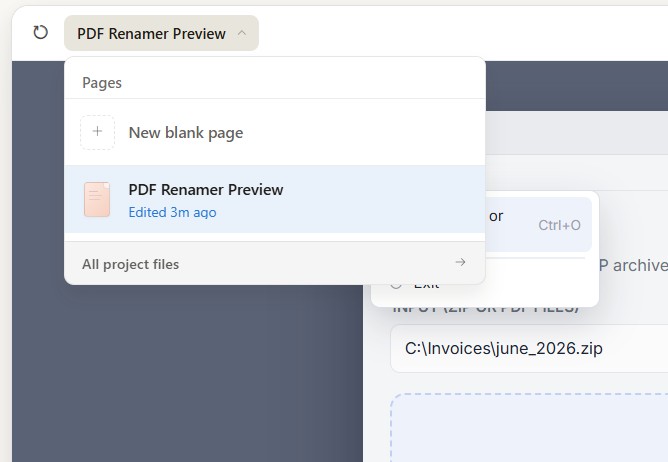
Claude Design`s preview mode menu - no download option
Because of that, I had to go back return to the project files view and download the XAML from there:
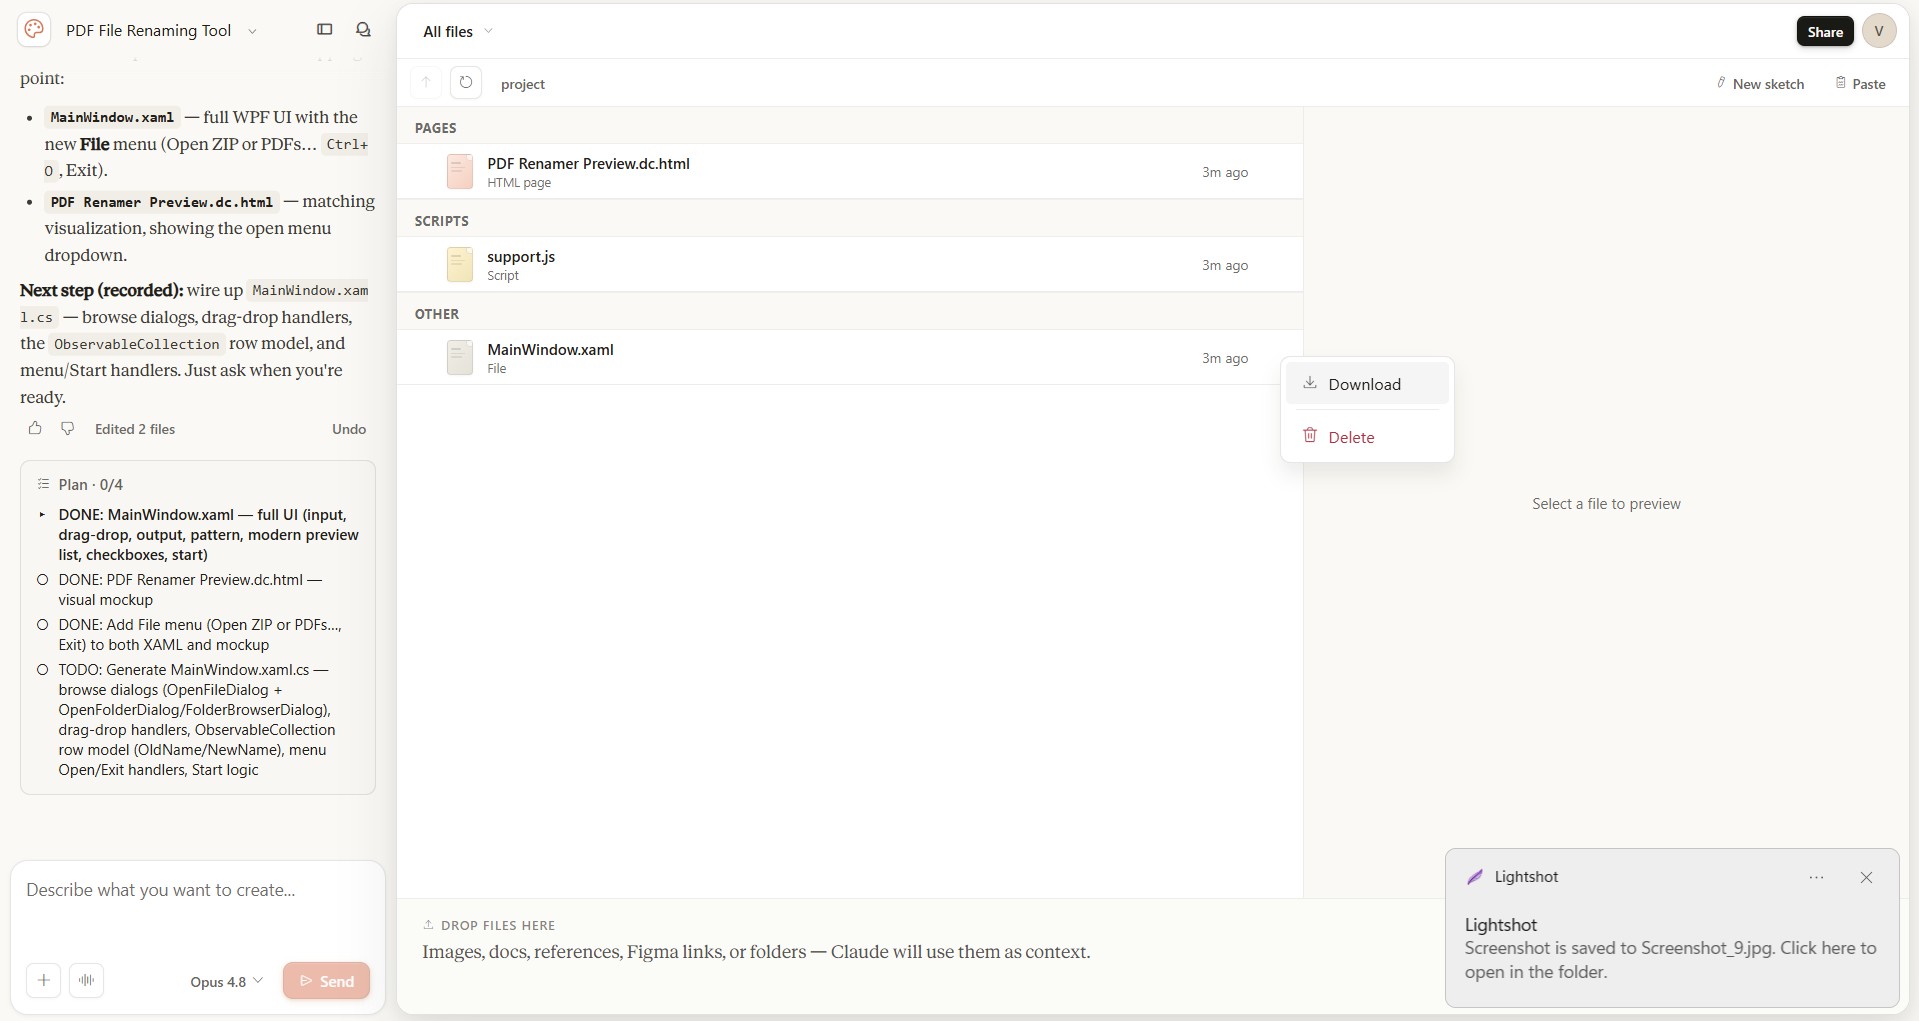
Downloading the XAML
Now I had to create a WPF application and paste the design there. I decided to use WPF because I know this framework, plus I was developing a small tool for personal use, so the Windows-only restriction was ok for me. There are a bunch of ways to create a WPF app, but I did it in Visual Studio Code:
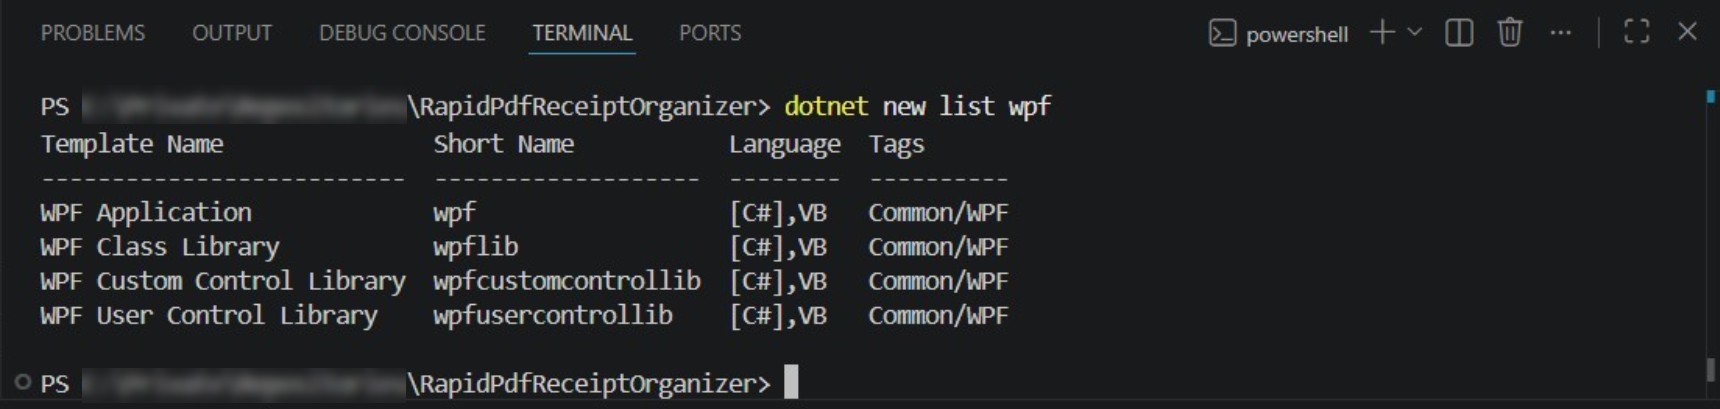
Creating a WPF application in Visual Studio Code
Here is the basic structure of a new WPF app:
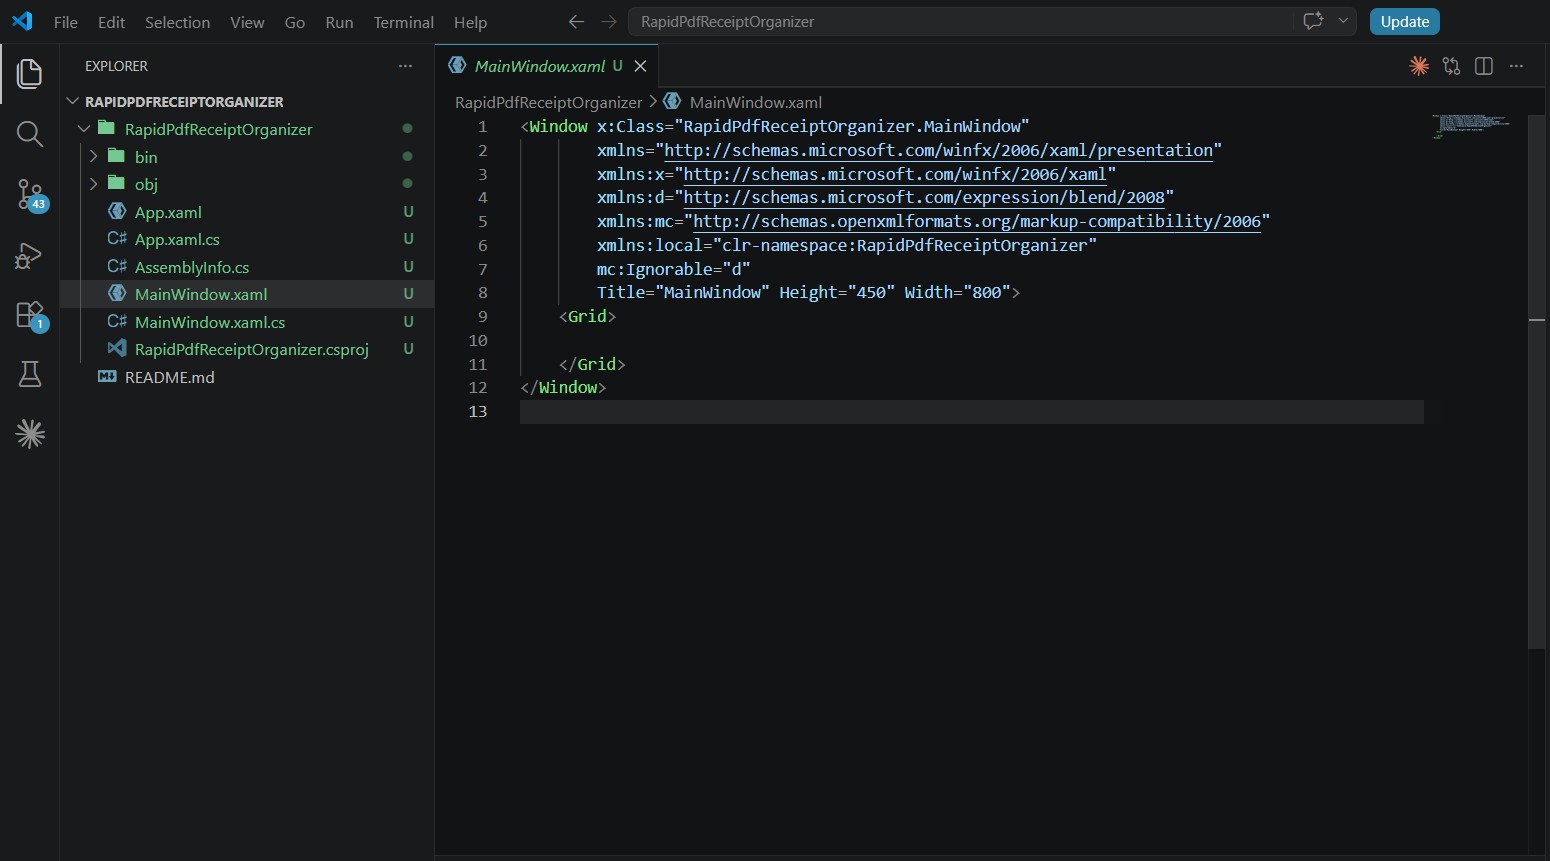
Basic structure of a new WPF app
The file downloaded from Claude Design was called MainWindow.xaml, so I just had to paste it into my WPF project folder:
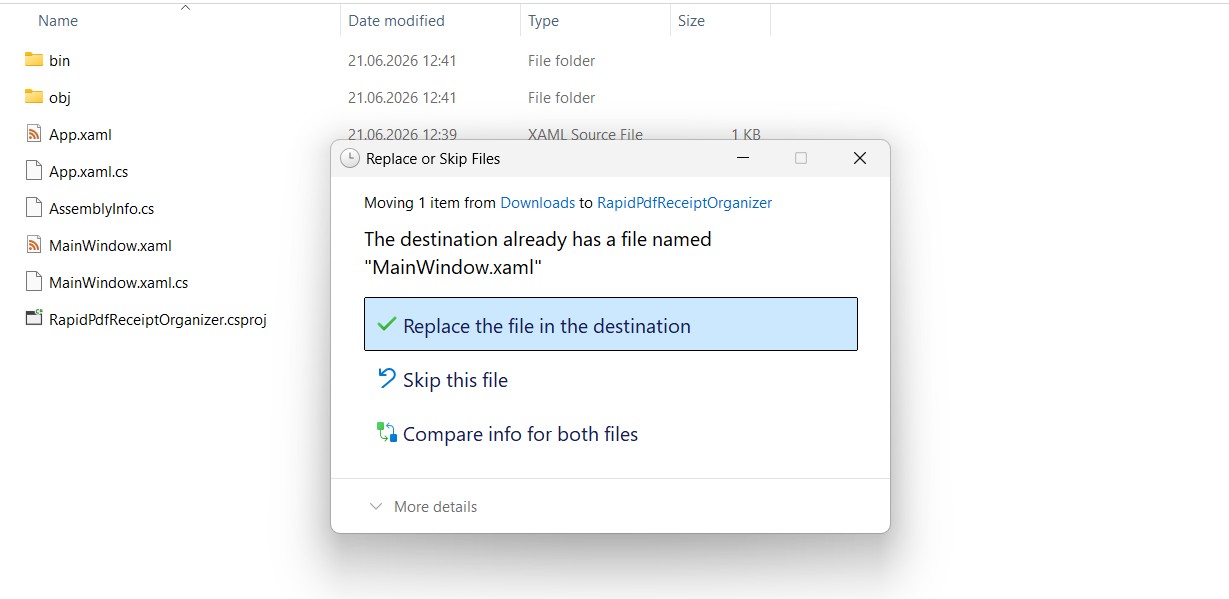
Pasting the MainWindow.xaml file into my WPF project folder
Now I could look at the actual XAML code, not just the UI preview:
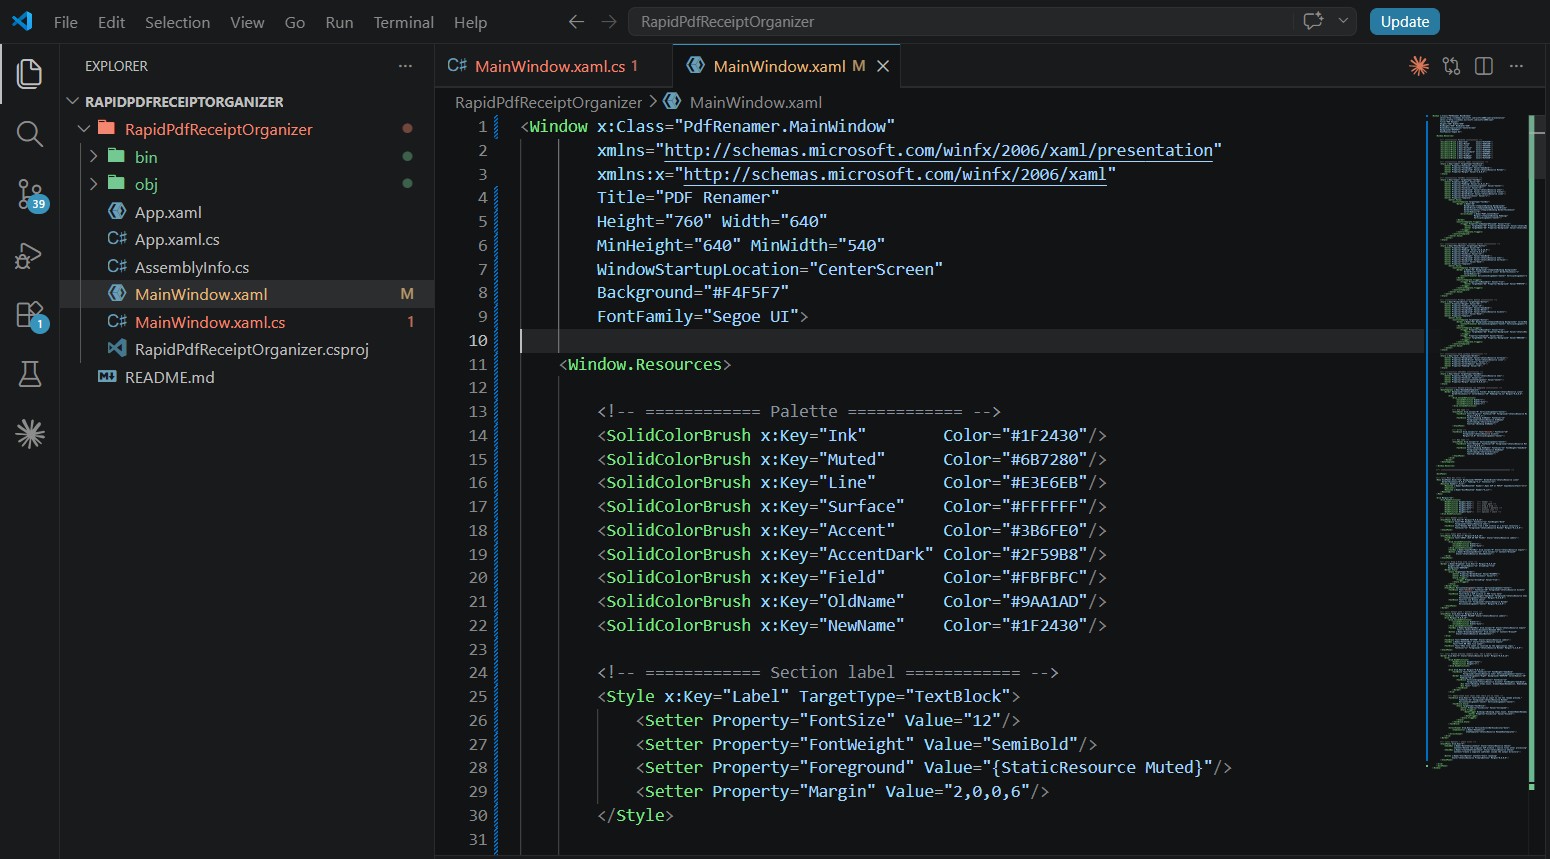
Downloaded XAML code
So I just ran it and checked whether it worked:
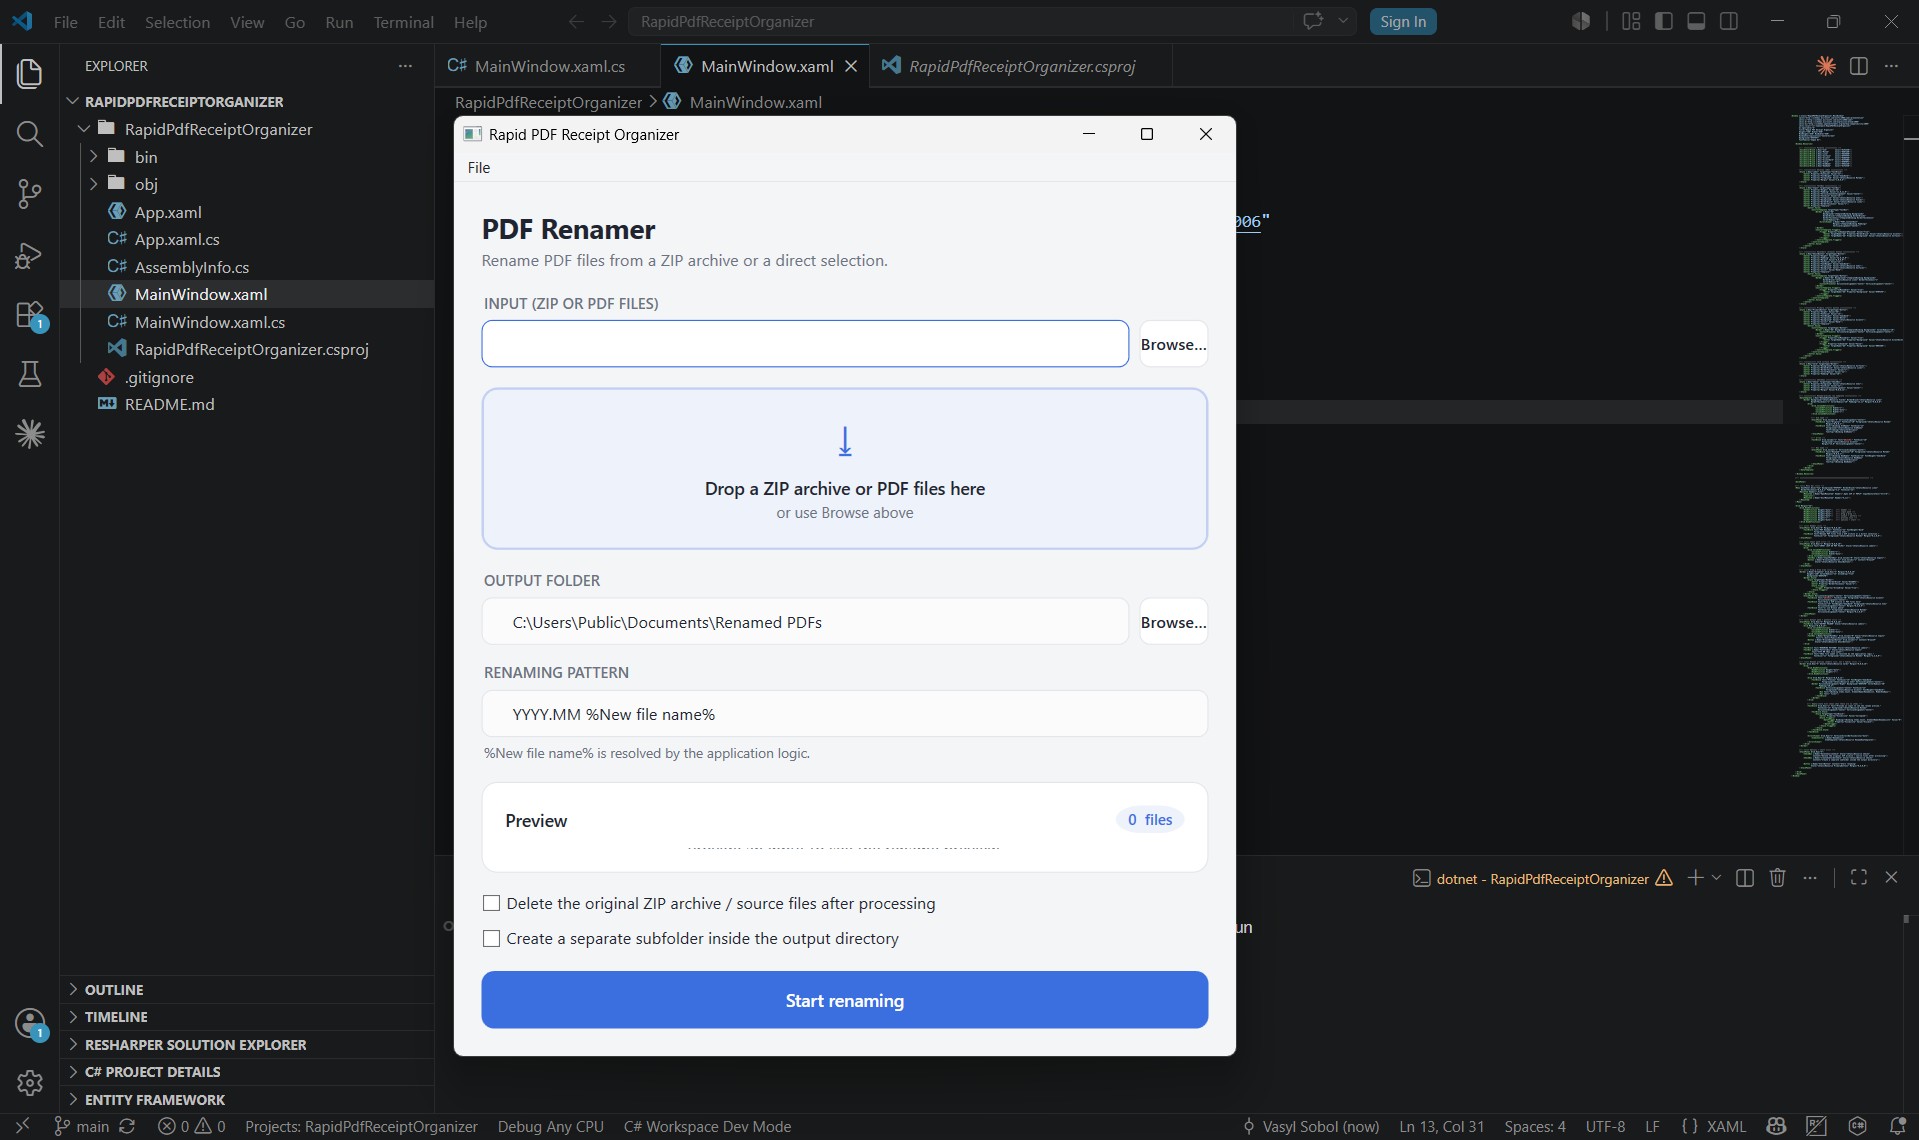
Final design
Of course, this wasn`t the final stage of development - it had only just begun - but the UI part was ready. The main takeaway is that Claude Design is capable of generating a modern, functional design even for niche technologies like WPF. And it can do it in a single prompt. The main limitation of this approach is that the prompt has to be detailed enough to cover all (or almost all) of the UX scenarios. It took me half an hour, but that was still far faster than building the UI by hand.